決定木モデルを構築するための、データを準備します。
データ準備
ボストンの住宅価格データを読み込みます。
[Google Colaboratory]
1 | from sklearn.datasets import load_boston |
[実行結果]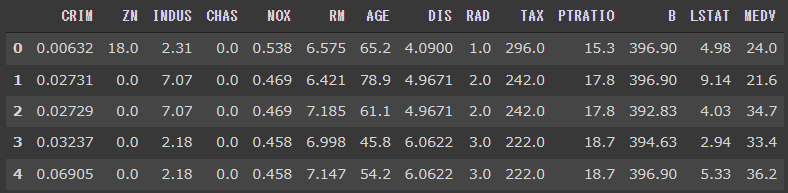
説明変数を変数Xに、目的変数を変数yに代入します。
[Google Colaboratory]
1 | X = df[boston.feature_names] |
[実行結果]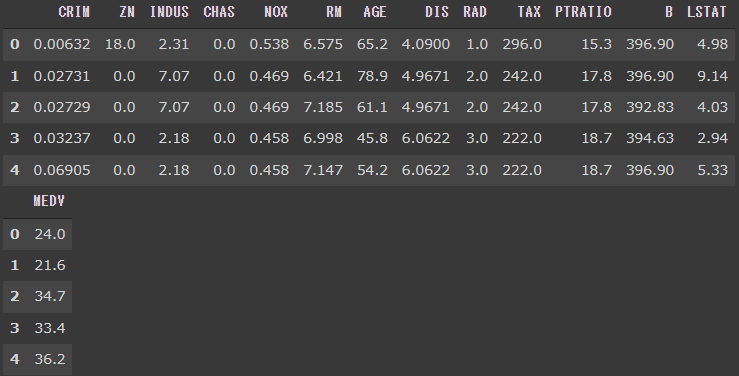
訓練データと検証データを7対3の割合で分割します。
[Google Colaboratory]
1 | from sklearn.model_selection import train_test_split |
[実行結果]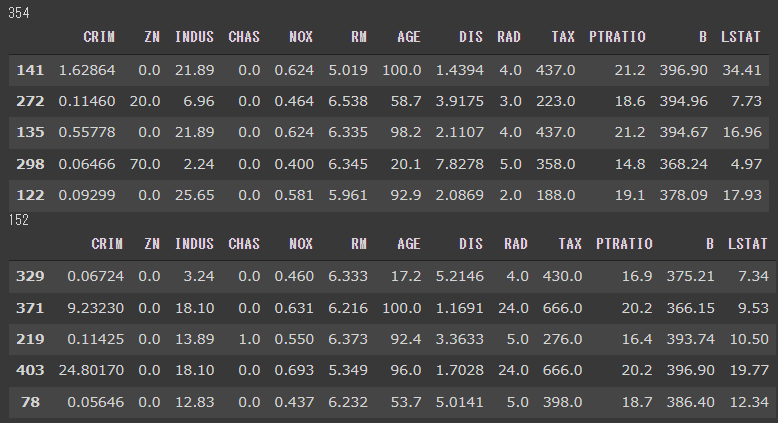
以上で、データの準備は完了です。
決定木モデルの構築
決定木モデルを構築するには、scikit-learnのDecisionTreeRegressorクラスを使用します。
max_depthは決定木の層の深さの上限を設定するパラメータで、今回は3階層(max_depth=3)の決定木にしています。
[Google Colaboratory]
1 | from sklearn.tree import DecisionTreeRegressor |
これで決定木モデルの構築と学習が完了しました。
決定木モデルの描画
学習により生成された決定木を描画します。
[Google Colaboratory]
1 | from sklearn import tree |
[実行結果]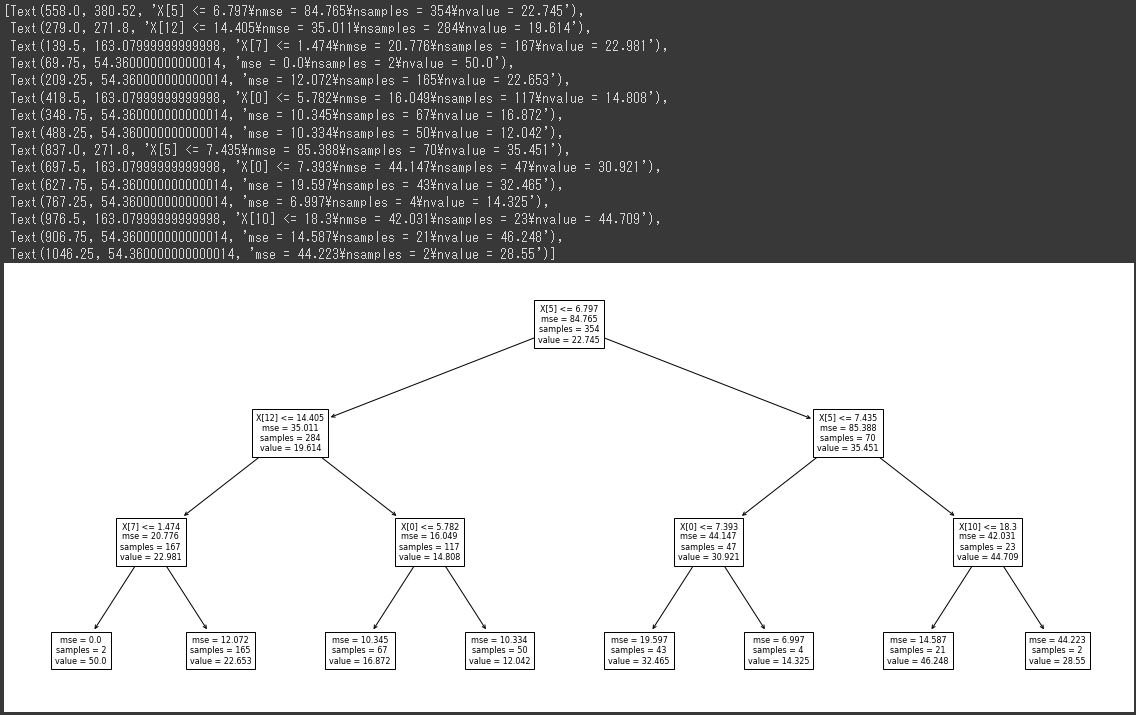
各ノードの中身に表示されている値は次のような意味となります。
- X[n] <= m
次のノードへの分岐条件 - mae
ノードの不純度(valueと実測値の平均二乗誤差) - samples
ノードに含まれるデータ件数 - value
ノードに含まれるデータの平均値
末端になるノード(リーフノード)のvalueが予測値の候補となっています。
次回は、構築した決定木モデルの評価を行います。